
Sweet Maria’s guide to cleaning the roaster and the thermal sensor in your Aillio Bullet R1 coffee roasterA machine for roasting coffee. Or the person operating it! The basic requirements for a coffee roaster are a heating element that gets suitably hot and a mechanism... ...more
The Bullet R1 requires more frequent cleaning and careful maintenance compared to other home roasters. If you don’t care for your Bullet R1 properly, smoke can damage the internal electronic components that make your roaster tick. This is our recommended regimen for keeping your Bullet R1 in tiptop shape.
What to clean on the Bullet after 1 to 2 roast batches…
Vacuum chaffChaff is paper-like skin that comes off the coffee in the roasting process. Chaff from roasting is part of the innermost skin (the silverskin) of the coffee fruit... ...more from the following locations:
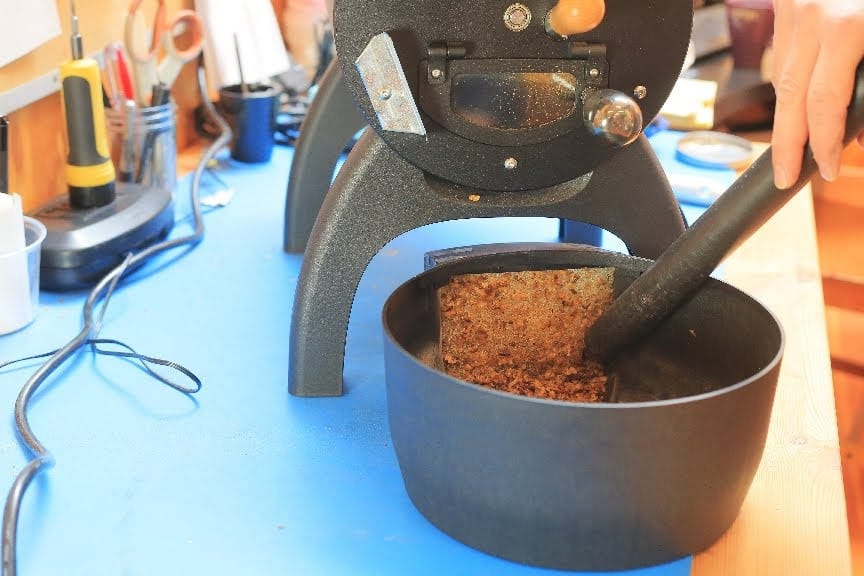
Clean the Cooling box (under the bowl)
Remove cooling filter and vacuum any chaff from the fan chamber
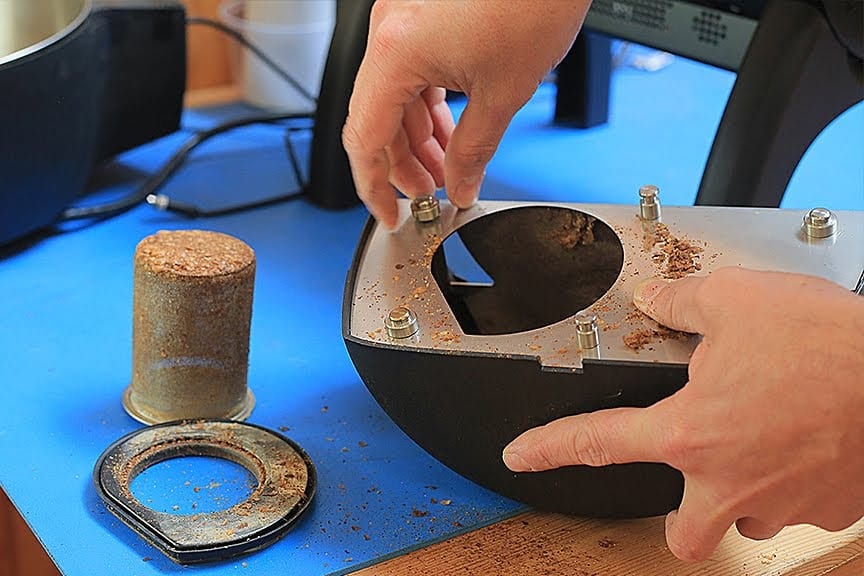
Clean Around drop door – look for any small beans that might be wedged between the drum and the drum out lining and remove them!

Chaff plug in rear of the machine
Cleaning after every 5-10 roast batches…
(or after 3 roasts, depending on roast level/batch size)
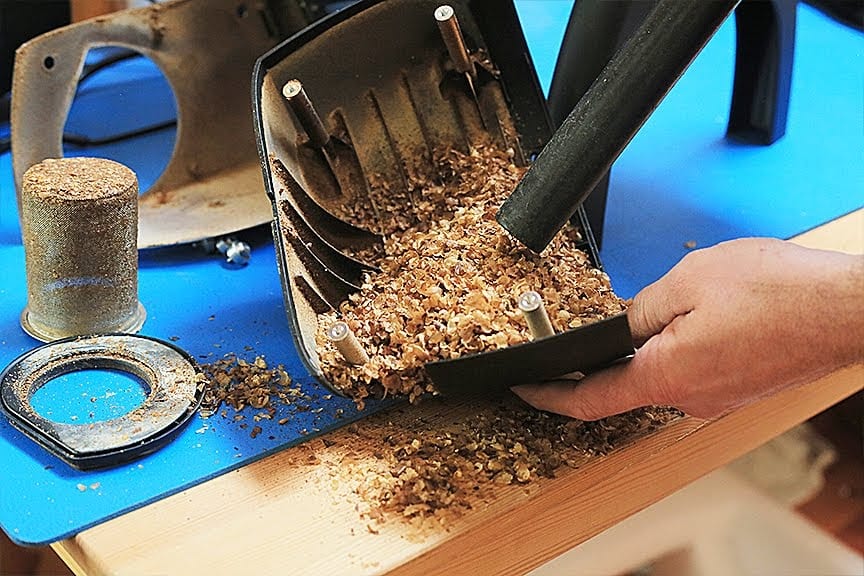
Remove back chaff basket
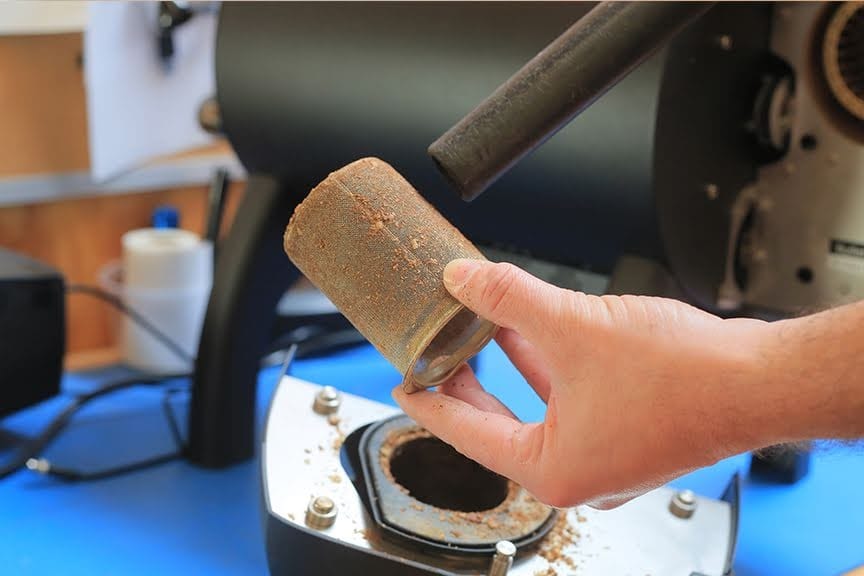
Remove the metal chaff filter and vacuum
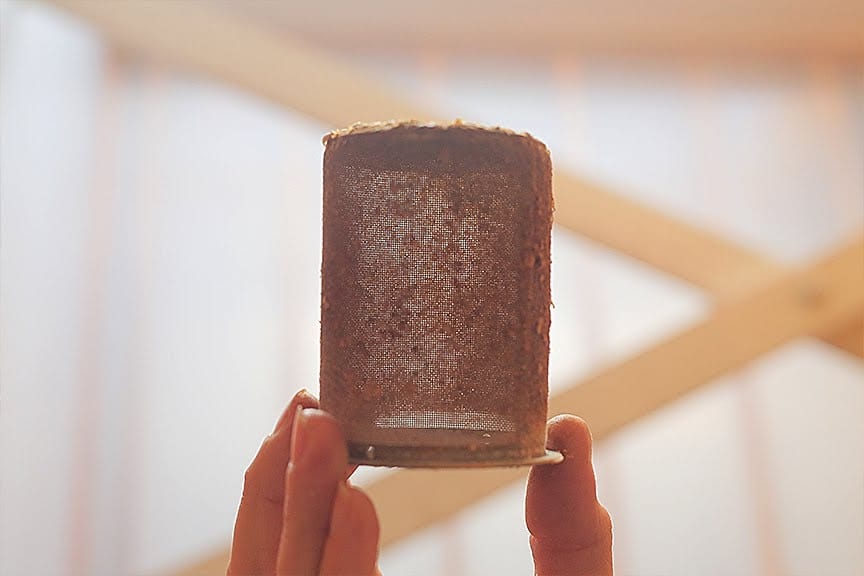
Hold the filter up to a light source and look through it: Can light shine through the basket? If not, soak the basket in a solution of espressoA small coffee beverage, about 20 ml, prepared on an espresso machine where pressurized hot water extracted through compressed coffee.: In its most stripped-down, basic form, this is... ...more cleaner (Cafiza, Joe Glo, etc) for 10 minutes and gently scrub with a brush
If you are roasting commercially, we recommend purchasing additional chaff baskets – that way, you can swap baskets to continue roasting without needing to pause for cleaning.
Bullet Deep Cleaning after 20-25 batches…
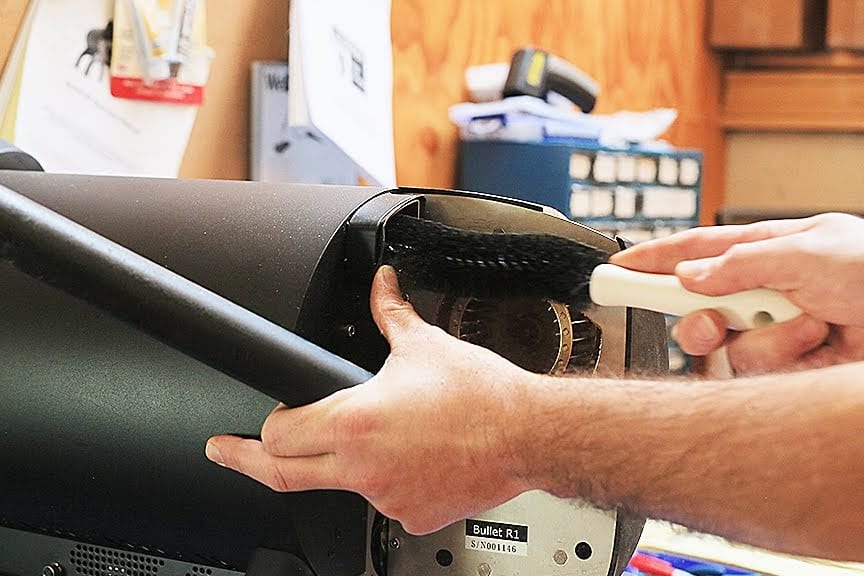
Disassembly and Deep cleaning of rear chaff collector

Remove rubber gasket, brush off the chaff
Unscrew and remove the panel covering

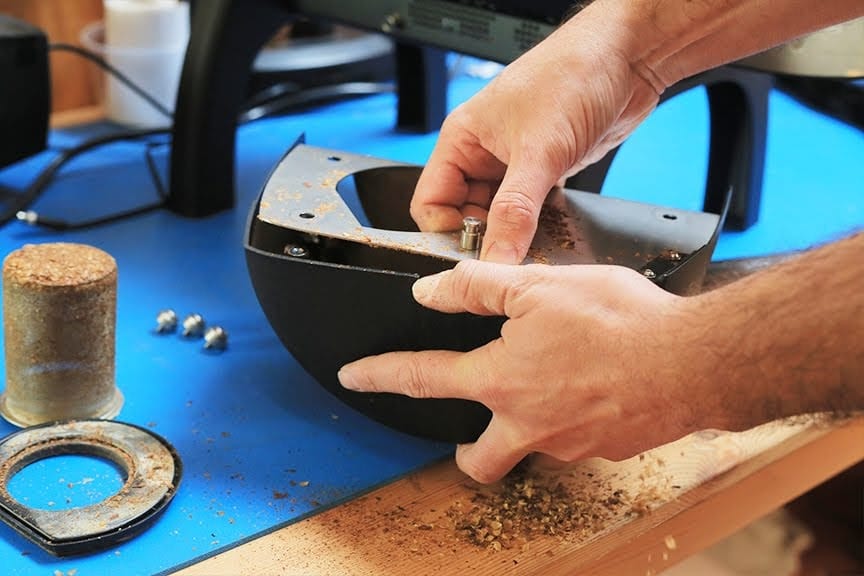
Vacuum chaff from back and clean with a brush if needed
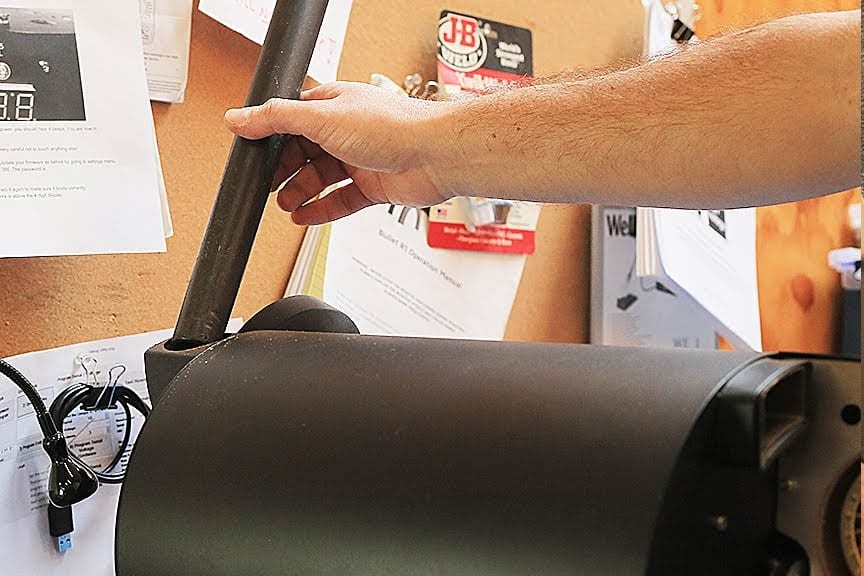
Transfer Tube Cleaning
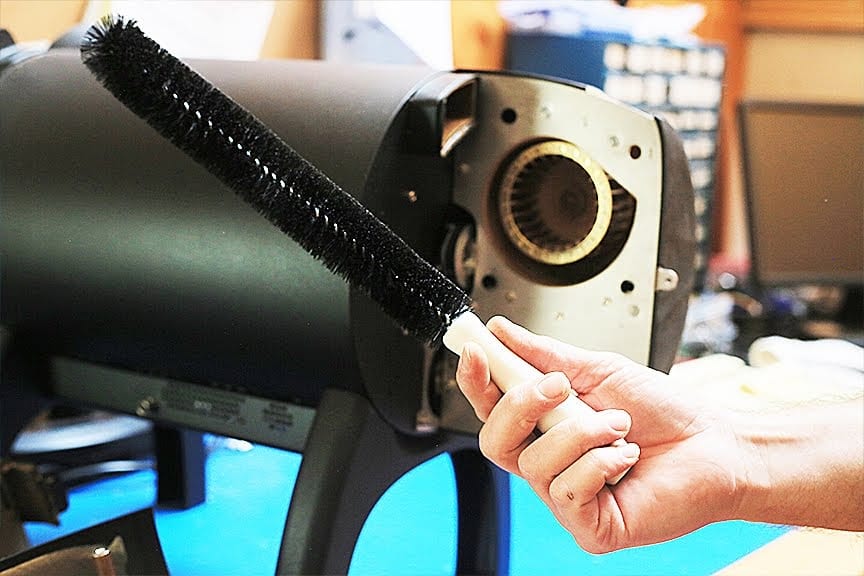
Using a bottle brush, clean transfer tube
Brush from the front and from the rear
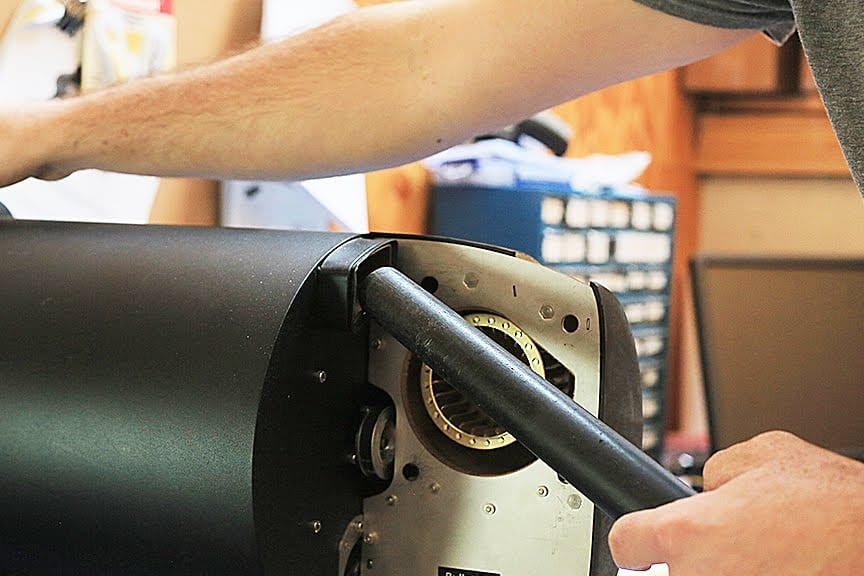
Vacuum any remaining chaff/residue from the front and the rear ends of the transfer tube
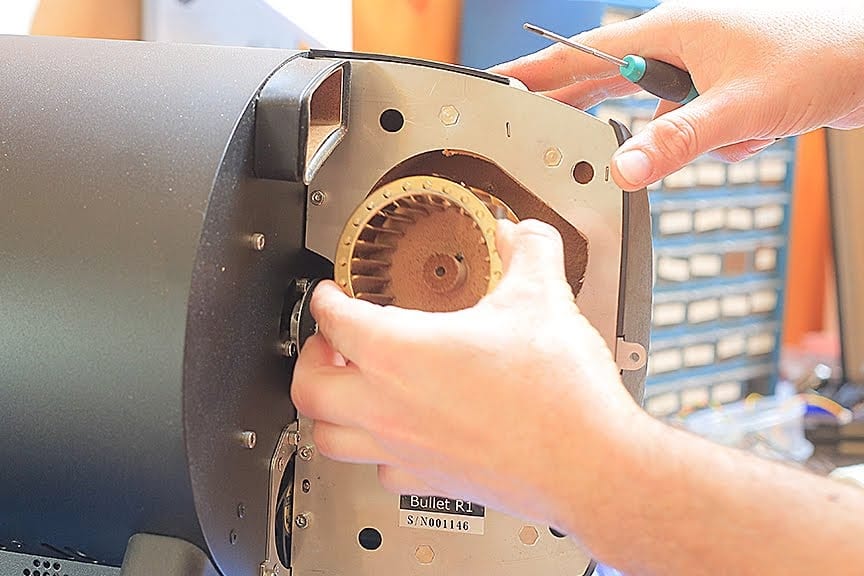
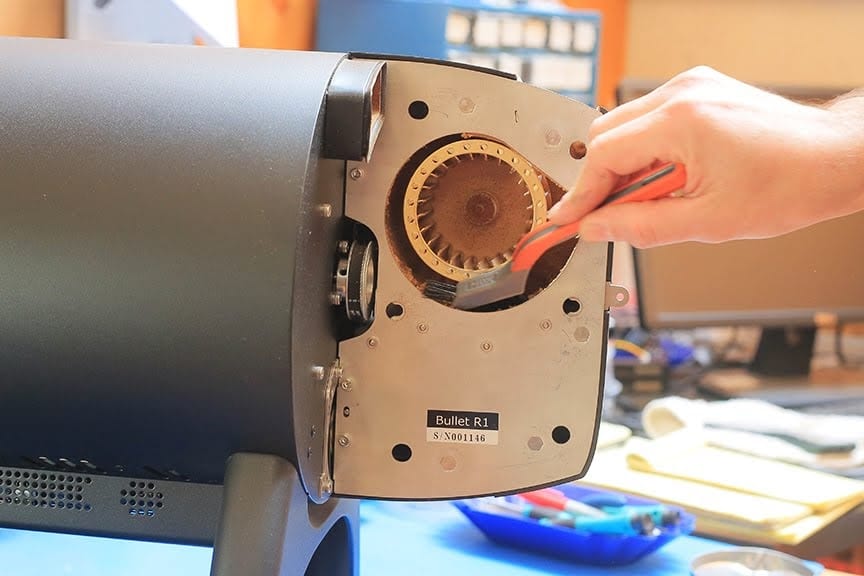
Rear Impeller Fan Cleaning
Clean the impeller fan by brushing and/or vacuuming any chaff/residue.
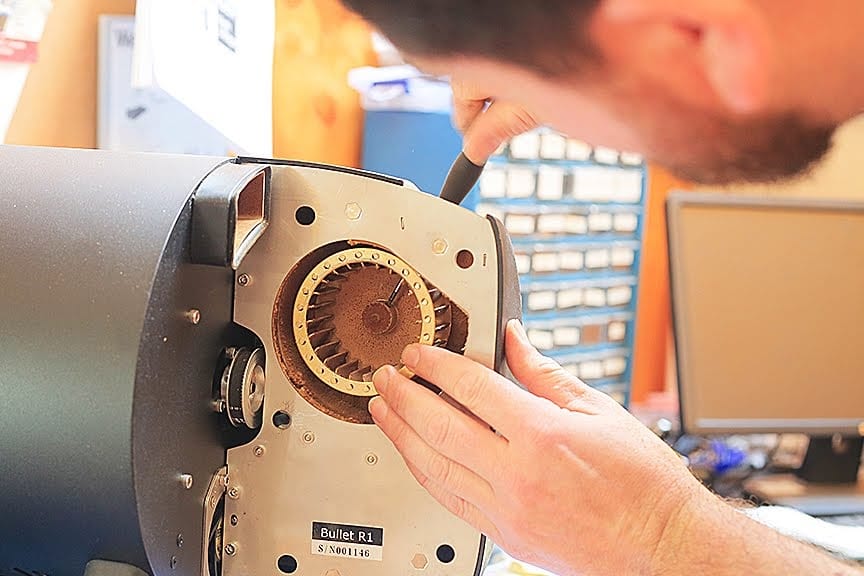
Is the impeller fan oily or coated in residue? If so, remove the fan for deeper cleaning.
Find the set screw and loosen using the #2 hex driver in the Aillio tool kit (5/64″ will also work) – do not remove it completely, as the screw is easy to lose. Just loosen it.
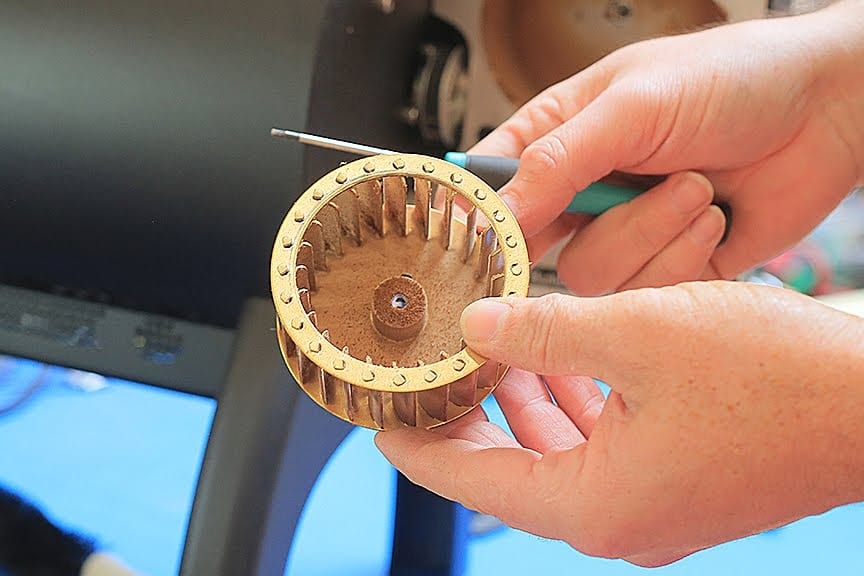
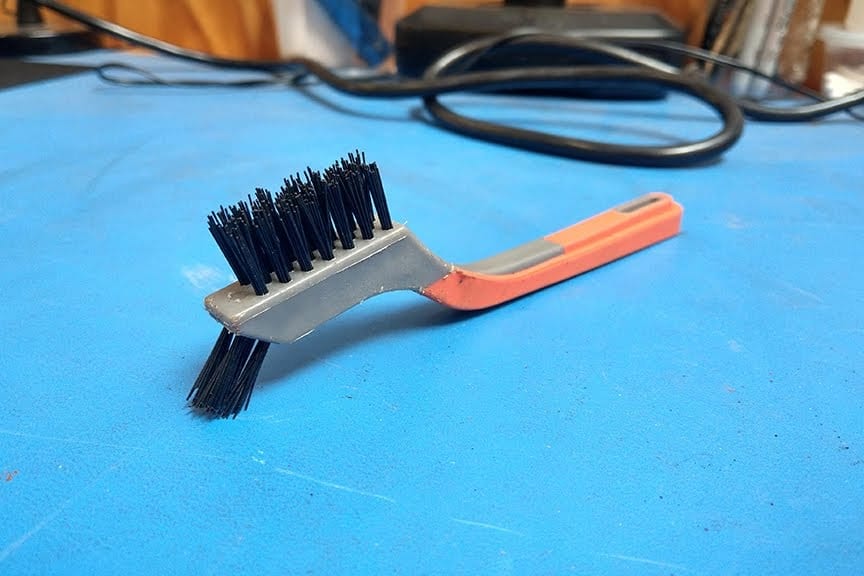
Using a fine metal brush, gently scrub and vacuum any chaff/residue

If need be, soak the fan in a solution of espresso cleaner for 10 minutes and gently scrub with a brush
Refer to our video for a detail explanation of impeller fan deep cleaning:
Cleaning the IBTS (Aillio Bullet V1.5 and V2) – Infrared Bean Temperature Sensor Module
How to keep the IBTS (Infrared Bean Temperature Sensor Module) Clean and working correctly.
We recommend cleaning the sensor every 25-40 roasts – darker roasts require more frequent cleaning. If you start to see some odd changes to your temperature readings, this is an indication that the IBTS lens needs cleaning
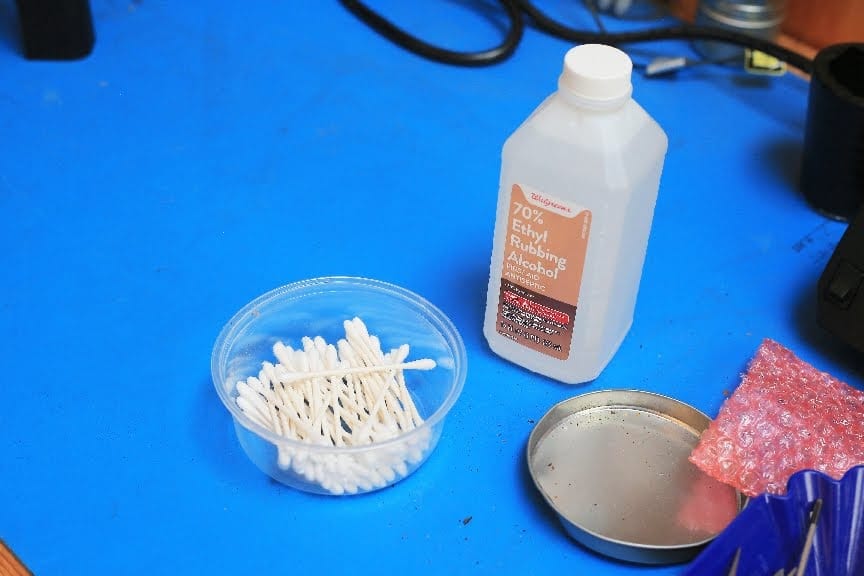
What you’ll need:
- Soft metal bristle brush, small-ish
- Cotton Swabs / Q-tips
- Rubbing alcohol – we use 70% here but 90% is good as well.
- Flashlight
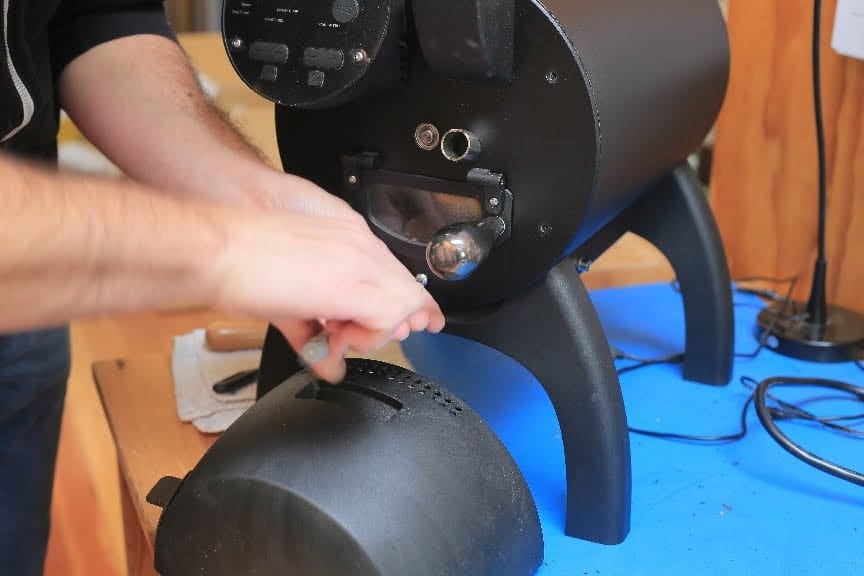
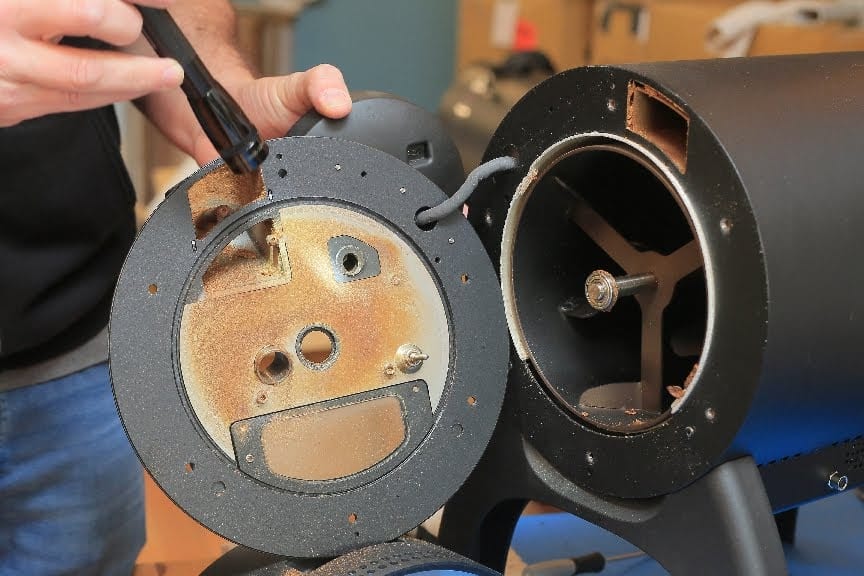
Remove back cover and place in front of the drop door to act as a stabilizer for the faceplate.
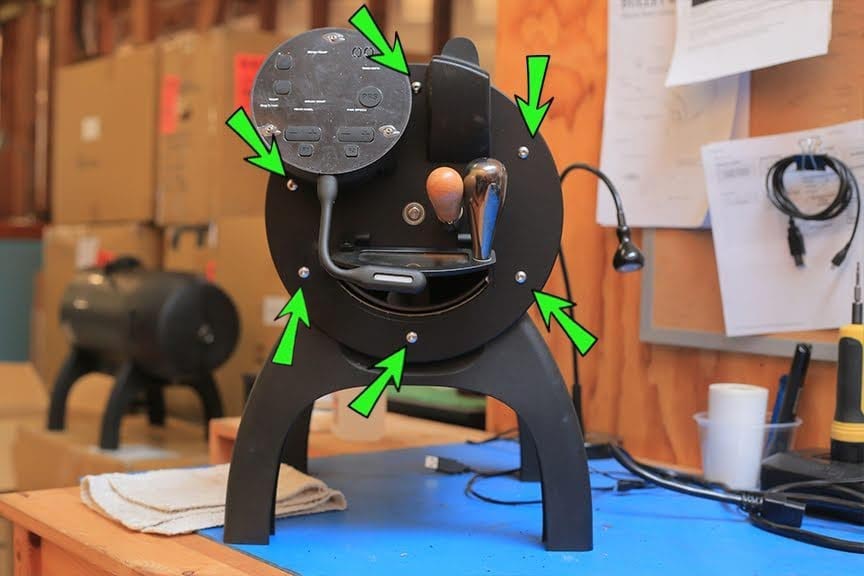
Unscrew the 6 front screws to remove the faceplate
Swivel open the faceplate and rest it on the back cover to keep the plate stable during cleaning

Locate the IBTS in the faceplate
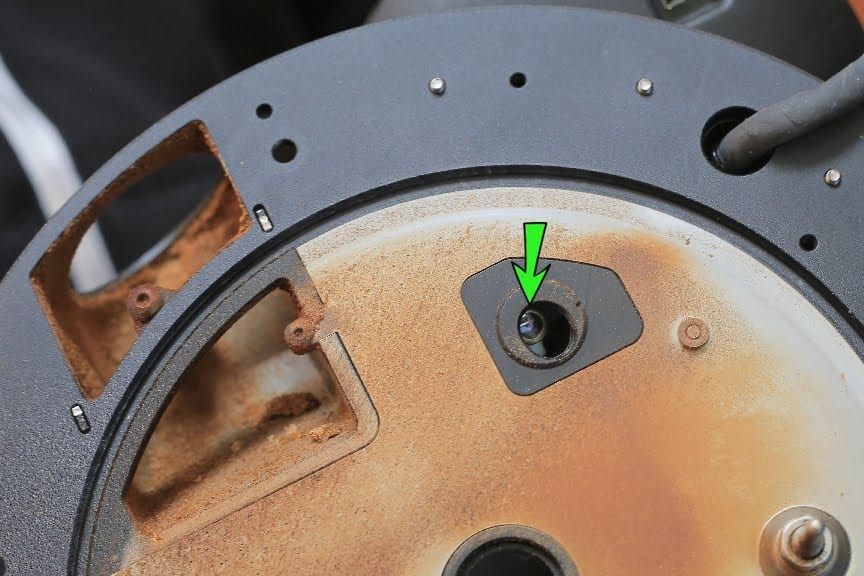
Brush chaff and residue from the interior of the plate
Use a flashlight to check the sensor for any oily residue or chaff
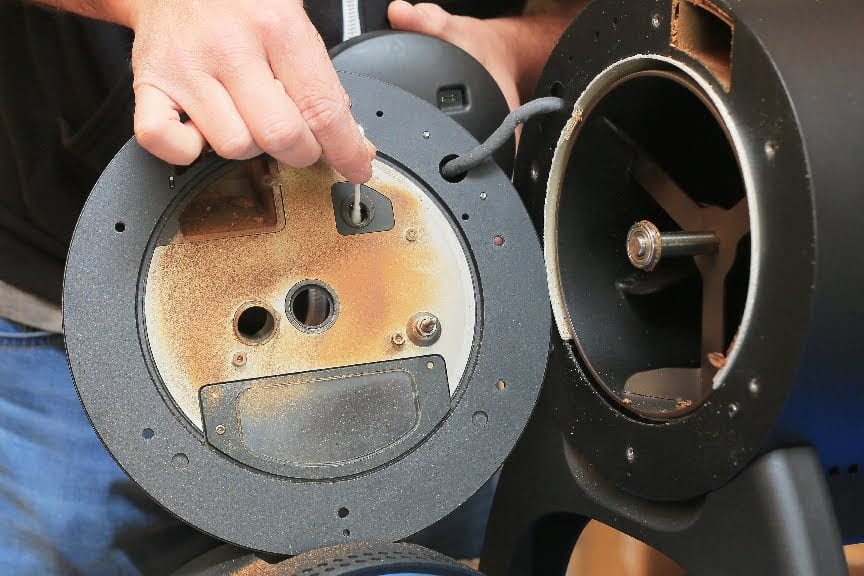
Dip a Q-tip in rubbing alcohol and gently wipe away any oils from the sensor
You’re all done! Put it back together and keep roasting!


18 Responses
Hi. Thank you for your posted instructions and videos on cleaning the Aillio Roaster. I believe I have blown a fuse and want to replace it. The fuse is really tight in the clamps. I couldn’t find any information on removing/replacing the fuse. Could you tell me how to remove it?
Thank you.
Janelle
Hey Janelle,
So sorry to hear this!
Can you clarify what the issue is that’s pointing to a bad fuse, and which fuse you’re talking about? Does your Bullet power up, and if so, do you get an error code on the LED Display?
We will likely want to pass this along to our Julio, our in-house Bullet tech.
Feel free to email us directly at [email protected] and [email protected].
Thanks in advance!
Dan
cannot change celsius to Fahrenheit in roast time profiles. need help
Hi Tony, thankfully that should be an easy fix. Are you using PC or Mac? I use RT for Mac, but the solution should be the same.
*Open up Roast Time and find the little gear icon on the left side of the screen.
*Click on the gear icon to open up the Roast Time settings.
*When the settings panel opens up, select Roast Config to open up the RT configuration.
*The second option in Roast Config is where you can select either Celsius or Fahrenheit for your temperature unit of measurement in the interface.
Hopefully this does the trick. Let me know if you need further help setting up Roast Time!
Best,
Dan
Regarding cleaning the rear impeller it would be enormously helpful if we knew what sort of screwdriver to use to loosen the set screw.
Hi there George, thanks for pointing out the need to add the driver size! I’m doing that now.
The grub screw requires a #2 hex driver which is included in the tool kit. If you don’t have one, a 5/64″ should also do the trick.
Here’s a helpful video on changing the impeller fan. One thing to note is that not all of the fans have the little notch you’ll see in our video. Mine doesn’t, but I’m still able to access the grub screw straight on with my driver between the correct fan blades.
Let me know if you have any trouble!
Best,
Dan
Worked just fine! Thanks.
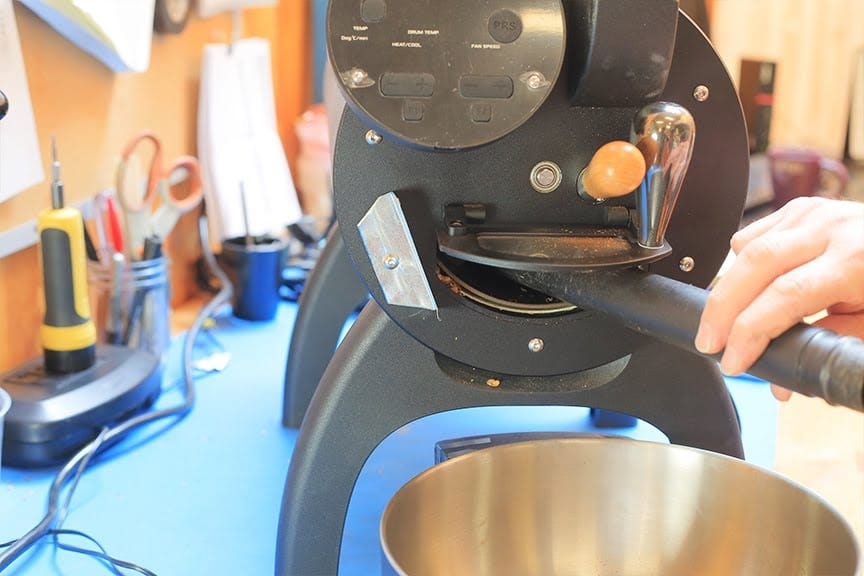
Hi-I am curious about the metal plate in the photo at the beginning of this maintenance schedule (vacuuming after 1or 2 roasts). It is just left of the bean-drop door.
It looks like some kind of bracket. Some modification you guys did perhaps?
By the way, thank you for these great videos you’ve posted about the bulllet. I have bullet #80 received in July 2016 and am still learning a lot about how to take care of it. All the best, Scott
Hey Scott!
Wow, #80! You’re a longtime Bullet user. It’s pretty amazing how even with such simple, manual control, there always seems to be something new to learn.
That metal bracket has very little function outside keeping the beans from ejecting out sideways when opening the front door. Haha. Our overbuilt response to a minor annoyance (but surprisingly effective 🙂 )
Glad you’re finding the videos useful.
Best,
Dan
Hi,
As a fairly new Bullet owner and user, trying to start my own roasting business having emigrated to BC from the UK, this was a great page to find. Thanks.
I just had to point out the slightly incorrect part with regard to removing the front plate when it comes to cleaning the IBTS. The instructions’ photo only points to five screws and the instructions only refer to ‘5 screws’. There are in fact, six! So on my first attempt, it’s not too much of a surprise that I struggled to remove the front plate because there was 1 screw still attached, the one hidden behind the control panel when looking directly at the front. Unfortunately, I do have a visual field defect caused by a brain injury in a motorcycle crash about 4 years ago, so I don’t think that helped, but because it said 5 and I’d already found 5, I wasn’t looking for any more…
It should be quite easy to update the page though, thankfully.
Best wishes,
Grant
Hey Grant,
Thank you for pointing this out. I just reviewed the material, and see that it appears we had already removed the screw to the left of the door before taking the photo, giving the appearance of only 5 screws. It looks so convincing that it must have even fooled us when we added arrows pointing to the screw locations! I will definitely correct this asap.
Thanks again for pointing it out, and apologies for causing confusion!
-Dan
Hi, I am having trouble figuring out which spot the bean probe connector goes into on the control panel. I replaced the IBTS fan, but when I connected everything back into the panel, the face gave me a 2048 code. Would you be able to send me a picture of the back of the control board so I can see where the bean probe connector should click in?
Ok we need to look into this a little – we might have a photo of that to share. Aillio has a lot of photo tutorials, videos and walk-throughs too so that might be another place to check.
I talked to Noah our tech and he added this: “There is a good video on bean probe replacement i send off when we diagnose a new one is needed.
(for bean brobe replacement = https://vimeo.com/415848379 )”
Hi! My Bullet ceased mid-roast (drum stopped spinning and loud clanking sound like bearing went out or something similar). Do you have recommendations on repair? Are there certified Bullet repair throughout US (specifically Charlotte, NC)? Any help is gladly welcome.
Oh that must have been a little scarey. Never experienced this but a bearing is the first thing that comes to my mind as well. There is a person in California who did repairs, and we can handle some things. We do have some parts we dont list online, and I cannot say for sure, but we did have bearings previously. Aillio has extensive library of repair walk-thoughs and their forum so its worth starting with google. On our bullet FAQ page you can see our Bullet Tech info and email address as well.
I have case with moist control panel even without chaff filter attach but the airlflow is poor so it not push to back and moisture trapped on control panel. Any idea why??
This could be from a bad seal on the IBTS module. Here is a video of the installation, with the proper seal shown at the 0:50 mark.
If the IBTS fan has previously been replaced, it could be installed backwards. This would blow back into the control panel as opposed to into the machine. This would be evident by the label of the fan being visible. It should be installed with the label facing inward.