
Sweet Maria’s testing procedure for people struggling with ROEST profiles.
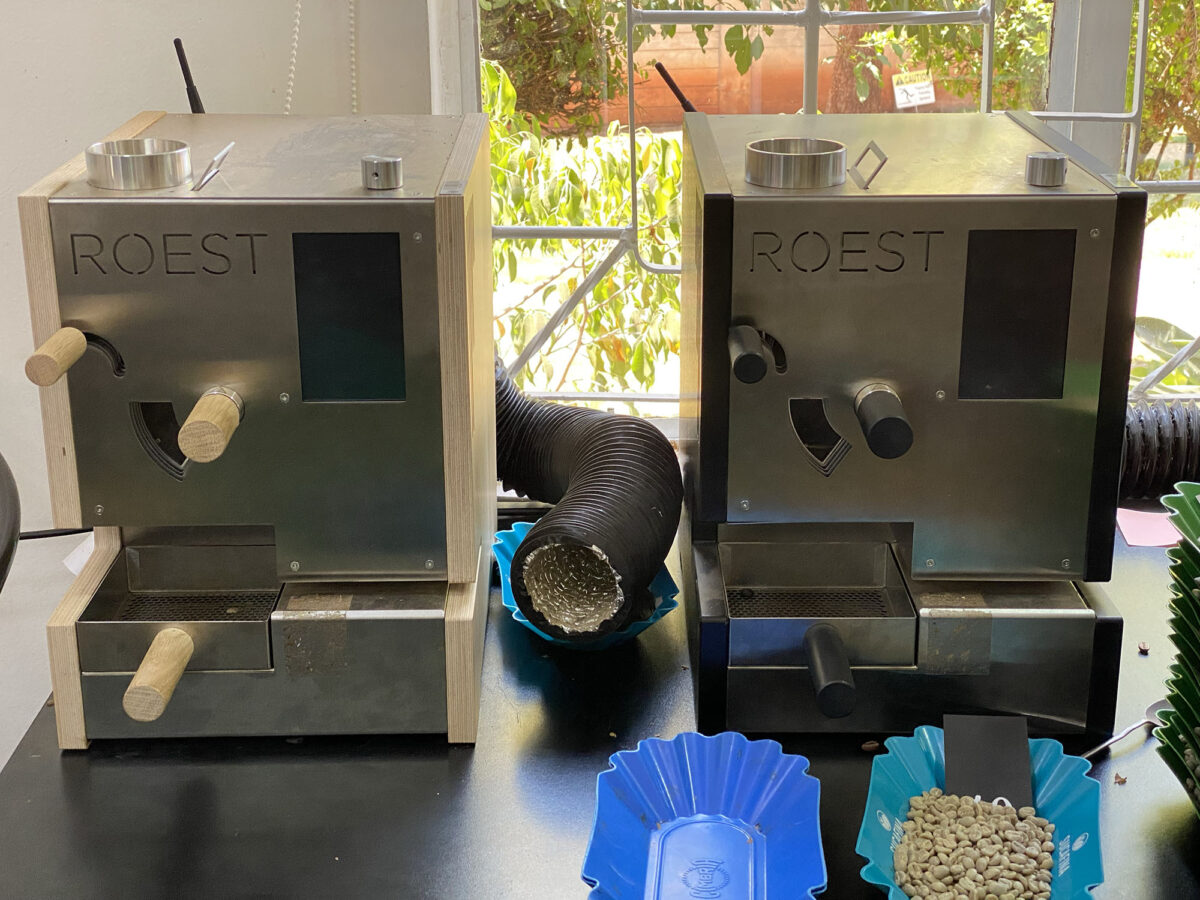
When we are trying to help a client with their ROEST Ultra sample roaster, we have some basic tests we ask them to conduct. Here is our testing protocol.
Why should you do this? We found that some issues are the result of roast profiles that have drifted far outside the norms. In particular, this can happen when people devise a roast profileRoast Profile refers to the relationship between time and temperature in coffee roasting, with the endpoint being the "degree of roast". Roast profiling is the active manipulation of... ...more from scratch, or based on a different roasting technology that doesn’t translate well into the Roest platform
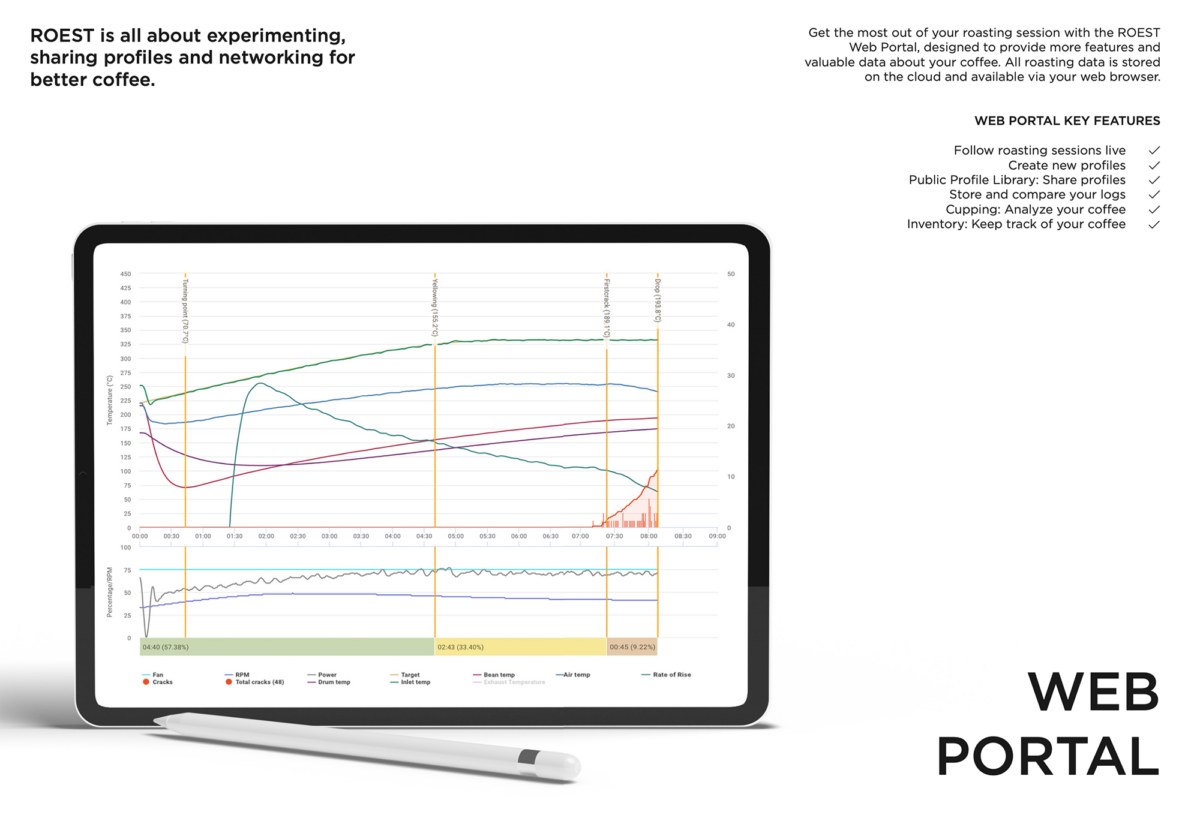
We suggest loading a test profile, running a roast as outlined below, and sharing the resulting roast profile. This will generate a shareable profile which will help us to provide you with online roasting and technical support. If we aren’t able to help you resolve your issue, this baseline roast will also be helpful for the ROEST team to diagnose any technical issue with your roaster. We created a special profile in the shared/public ROEST Connect profile library called Sweet Marias Calibration Profile 100gr. Please see the directions below:
Load Our Test Profile: The following steps are performed in ROEST Connect.
- Login to your ROEST Connect account.
- Access Sweet Marias Calibration Profile 100gr profile here: https://connect.roestcoffee.com/shared_profile/12cef1b8-5310-4a2f-a8bf-a212e2e3ecf6 (You can also find it by searching Sweet Marias in the ROEST public profile library).
- Select “Add to Machine”
- Select an empty profile slot or a profile to replace by selecting a checkbox from the popup window.
- Select “Assign to Machine”
- See image of steps 2-5 here.
Sync to Roaster: The following steps are performed on the roaster touch screen and sync the test profile to the machine.
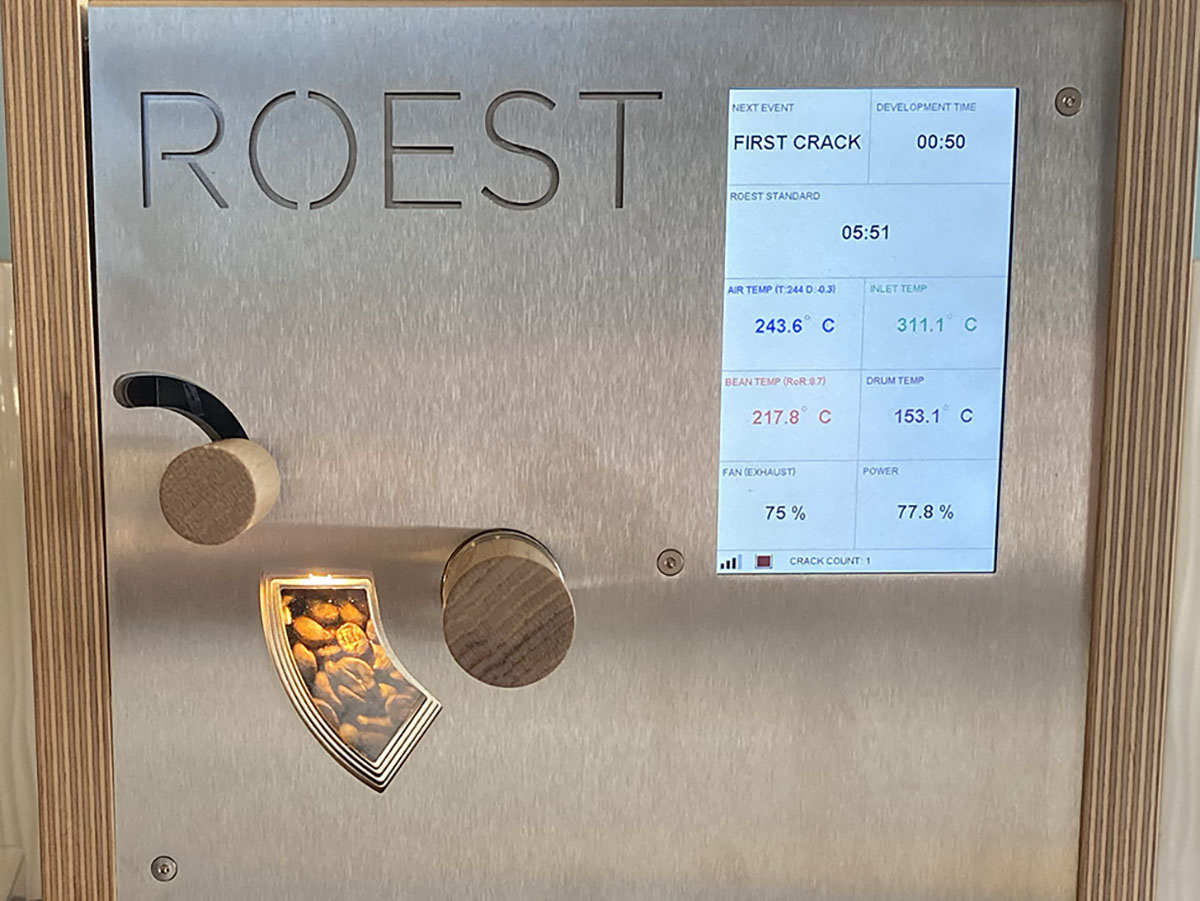
- Open “Profiles” menu on touchscreen by tapping the current profile.
- Select “Sync” in the upper right corner to sync the test profile.
- Confirm “Test/Troubleshoot” profile has been added to the machine.
- Select “Test/Troubleshoot” profile.
- Ensure “Test/Troubleshoot” is the selected profile on the main screen.
- See video of this process here.
Perform a Test Roast: The following steps will generate a shareable roast log.
- With the “Test/Troubleshoot” profile loaded, move the bean handle into the down position.
- Let the roaster pre-heat for at least 2 minutes after moving the handle down.
- Weigh out exactly 100g green, unroasted coffee and pour into the ROEST hopper.
- Lift the charge handle to start a roast.
- Complete the roast. This should take 7 – 9 minutes.
- See an abbreviated video of steps 1 – 4 here.
Share Resulting Profile: The following steps are performed in ROEST Connect.
- In ROEST Connect click “Logs” at the top of the screen.
- Find the test log from the roast you just completed, which should be the most recent profile. If you subsequently performed other roasts, the test profile can also be identified by the profile name.
- Select and click on the profile.
- Click on the three dots in the upper right hand corner of the profile next to the “Compare” button.
- Select “Share Log” then “Generate Share Link” then copy the link.
- This should generate a URL which you can share with us.
- See a video of this process here.
If you believe you are having a hardware issue, your best resource is the customer support provided directly by ROEST.