
Roasting in a hand-cranking stovetop popcorn popper is still very popular for quite a few reasons. It’s a fairly inexpensive way to start roasting your own coffee at home, it can roast a full pound batch of coffee, and you can roast darker than other methods, if that’s your thing. It’s also a decidedly low-tech, hands-on, sensory experience … no tech needed really.
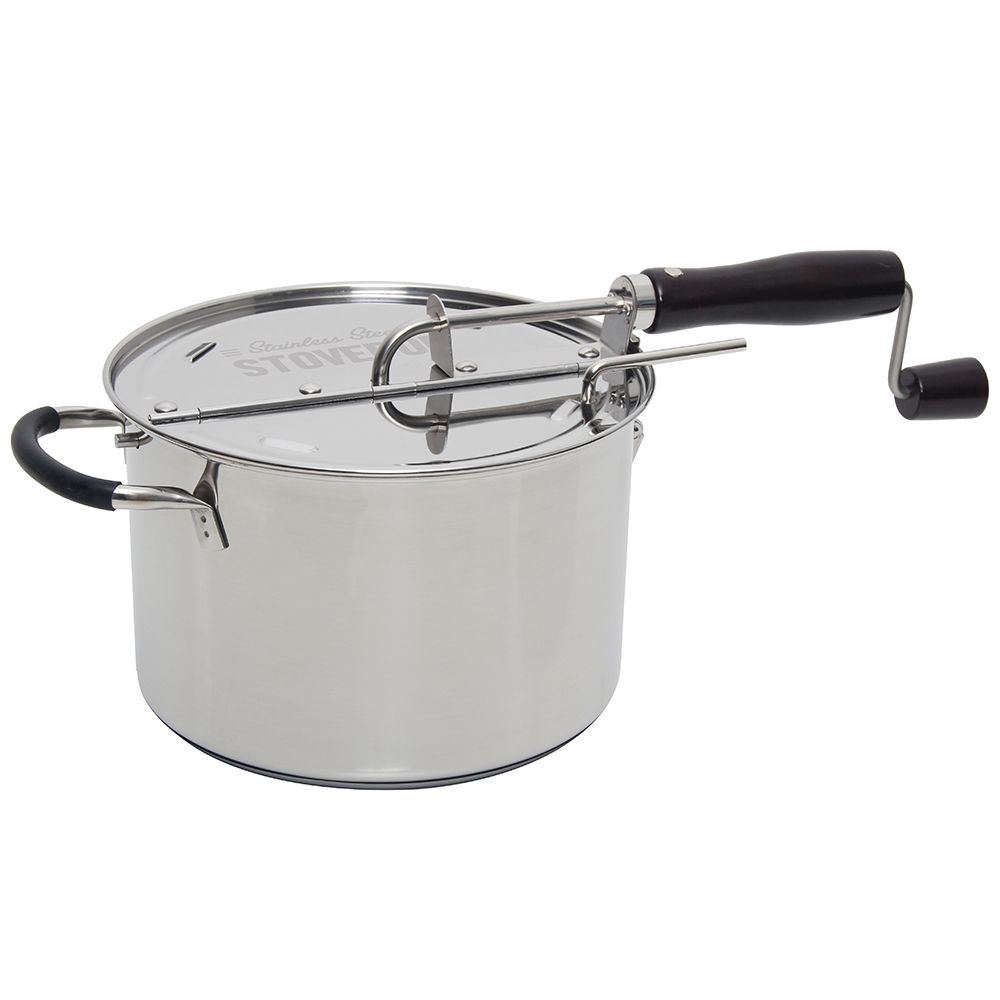
There are various brands of these stove top popcorn poppers available. We used to offer the all-aluminum Whirley Pop but we prefer the one we currently sell, the VKP (aka Victorio) Stovetop Popper. It’s a durable build, and can even work with an induction burner, as well as traditional electric or gas stove tops. Since stove top roasting produces smoke, some like to buy a small semi-portable burner and take their roaster outside.

A full length roasting demonstration video using the VKP stovetop popcorn popper to roast a pound of green coffee.
Thompson roasts a full pound of BurundiBurundi coffee bears resemblance to neighboring Rwanda, in both cup character, but also the culture surrounding coffee. Burundi is a small landlocked country at the crossroads of East... ...more at home on a gas range, talking through the process and offering some pointers and other insights. This is a split screen video to show the roast on the stove better – not super attractive but it helps get the information across. It’s advised to have a thermometer to check the warmup temperature before adding coffee, to prevent scorchingPatches of discolored burn marks on the coffee bean, due to a high-heat roast environment or other roast error.: Scorching refers to a roast error that can be... ...more.
Roasting Tips:
Download our printable Stovetop Popcorn Popper Tip Sheet below!
Benefits of Stovetop Popper Roasting
- You can roast more in one batch than air roasters and some expensive drum roasters! 8 oz to 1 pound batches are possible. This means you can probably roast enough for a week in one sitting with 1 or 2 batches.
- You can get good roast results through the entire range, from City roasts to dark French roasts. Lighter roasts are a bit more difficult with this method, but all levels can be done well with a proper technique.
- If you like doing things the “olde tyme way”, you may enjoy this! There are no electronics to break. Completely Y1k compatible.
- It’s fairly quiet and with experience you should be able to hear the first crackFirst crack in one of two distinct heat-induced pyrolytic reactions in coffee. It is distinguished by a cracking or popping sound in the coffee, and occurs between 390... ...more and second crackAfter First Crack, a roast reaction around 440 to 450 degrees that is distinguished by a snapping sound. Second Crack is the second audible clue the roaster-operator receives... ...more easily.
- You can have total control over the length of the roast, getting more of a “drum roast” profile, which some people prefer for espressoA small coffee beverage, about 20 ml, prepared on an espresso machine where pressurized hot water extracted through compressed coffee.: In its most stripped-down, basic form, this is... ...more.
- You can go nuts and modify/customize the process endlessly. People have added spit motors or electric screwdrivers to power the agitator, bolted the roaster to camp stoves so it doesn’t move around on them, installed thermometers of all sorts…
Problems with Stovetop Popper Roasting
- Stovetop roasting produces a lot of smoke, mainly because you are roasting more coffee in each batch. You must have a hood over your stove that actually goes to the outside, or roast outdoors on a camp stove … or maybe you really like smoke..
- This method requires some skill – you need to set the heat source so you don’t roast too fast and scorch coffee, or too slow and bake it.
- You need to be patient … to roast coffee well the process takes 8 to 15 minutes, and you need to stand there and slowly crank the roaster the whole time. Sometimes the popper doesn’t crank easily and you need to overcome that …
- … Stovetop poppers might require some adjustments and occasional repairs to keep working right. You are on your own, since you are using it for an unintended purpose you can’t expect a warranty to cover you. Poppers are for DIY people (do-it-yourself). You may need to fix gears, replace rivets with screws, modify the stirring paddle, etc.
- Some coffees don’t get along with stovetop roasters and tend to jam them up … namely the Yemeni coffees and other small-bean types. PeaberryA peaberry is a green coffee "bean" that has a rounded form: Coffee is the dried seed from the fruit of a flowering tree - each fruit having... ...more coffees roast especially well because they “roll” in the popper.
- VKP Popper jamming once it is heated up? The agitator tip assembly is supposed to have 1/4” free play on the shaft. See the instructions that came with the VKP Popper. You received a small hex head wrench, so just loosen the tiny bolt and adjust the free play. VKP Agitator not turning? The same little bolt might have come loose from the shaft. Use that hex head wrench and tighten it!
Stovetop roasting takes some practice. There are more variables than other methods since you set the heat and provide the agitation. But the results can be outstanding and the 8 oz batch is nice. It sometimes seems like a 3-handed act: before you start, try a dry-run by adding green coffeeGreen coffee refers to the processed seed of the coffee tree fruit. Coffee is a flowering shrub that produces fruit. The seeds of the fruit are processed, roasted,... ...more without any heat, and agitate it. In the course of the roast, agitation gets easier as the coffee loses weight and expands.
See the article below if you have any issues with the stirrer in the VKP StovePop:


13 Responses
First day with VKP popper on a induction plate. Trying for a dark french roast type.
Used Maria’s New Espresso blend .I can set exact temps ( up to 450 F ), But I feel like I’m flying blindly. Started at 200F for 8 mins ,275F for 6 mins, 350F for 3 mins & 450 for 5 mins for a total of 22 min Roast . Just guessing here.Any thoughts,comments or suggestions ?
BD
It sounds ok but a bit slow for a total roast time. I think you are referring to the temp you set on the induction plate. For me its important to know the temp of the popper on the bottom – that’s why I use the IR thermometer. 350 to 400 F is a good starting point
Just wanted to pipe in here 5 years later. I have been goofing off with a portable induction plate (Duxtop) and the total heat output on the temperature setting versus the variable power settings are radically different. The temperature set points might make sense from a long-cooking perspective but I find they don’t adequately heat the beans in the time necessary to achieve a good roast (YMMV, and someone may have figured out how to make this sing). I got horrifically under roasted and “baked” beans when I tried to match the temp on the cooktop settings to my desired beans temperatures. The delay to transfer the heat to the beans I think is at issue, as well as a lack of power when set temperatures are programmed on the induction plate. The popper has been turned into the “burner”, with the induction heating the popper bottom and heat transfer to the beans driving water off (evaporative cooling slowing the heating of the bean mass). I think the thermometer in the induction plate is estimating the temperature of the bottom surface of the bottom of the popper, basically as far away from the beans as you can get. As a result, not enough heat in the beans. I think of roasting as sending some number of BTUs into the beans in a given number of minutes _in order to reach_ a particular bean temperature at a particular time. Induction worked great using the variable power settings. The induction plate can raise the heat of the popper bottom extremely quickly (far more instantaneous than the electric stove top I have been using for the last 17 years) and so it was possible to vary “velocity” of the energy going into he beans in real time (more like driving a small boat less like driving a supertanker) and this meant I could get very different roast profiles out. I was able to get a relatively brighter cup with a rolling 1st crack occurring ~10min in with the power toping out at ~6.5 out of 10 on the settings. Longer more “PNW 1999 drum roast” profiles (house favorite style) also possible by stretching the time before crack. I largely roast by smell, sound, and color at this point. My take: lots of headroom to make the roast darker (request from OP 5 years ago) and roast-to-taste across a pretty wide swath of favorites using the power setting side of an induction cooktop and the stainless steel hand crank popper. I’m not saying I don’t miss my west bend poppery (RIP) every once in a while but…an induction cooktop made the steel popper even more versatile than it was on an electric stove.
This is great feedback on induction stovetop roasting. It makes a lot of sense that the heat level settings and bean temp are not at all correlated. But ultimately induction gives a lot more power and responsiveness vs en electric cooktop, as you note. I think ultimately the strength of stovetop roasting is that, with some experience (you clearly have a lot!) you get a “feel” for it. Sight, smell, sound are more important than the numbers on the cooktop for sure.
Just want to say I started with a whirly pop and after the first few roasts it was modified with a drill motor and a hose clamp on the trigger (Still have as backup ) Works great !!!
from there I built a Drum roaster on Gas grill which i did use as backup a couple weeks ago when my Aillio skipped a beat ( Thanks Julio ) All Good now .
And Thanks Sweet Maria’s for being a great customer service
Love your style of roasting! It matches mine. I would love to take the Development job you have posted right now if weren’t 1200 miles away and in a corporate job for 6-8 more years. I’ll just have to continue to support you by buying coffee beans for my home roaster.
Cheers!
Informative video for me as I have never done roasting and looking to start.
Would it help to put the bake sheet in a freezer then when ready to cool pull it out and place the beans on it ?
Doing so would get your coffee beans down to room temp a tad bit quicker but maybe not to a point where you could taste the difference.
I started out roasting 5 years ago with a Whirly-pop on a camp stove outside. Last fall I bought a Behmor thinking I could roast inside during our long cold winters, but actually had to vent out a window anyway. Today was a nice spring day and I set up the Whirly-pop again. I really prefer the close control I have with the small batch process. I have a downdraft fan with a 3/16″ mesh hardware cloth screen to pour the beans onto, which cools a ½ lb batch in a minute or two.
Hey Daniel, thanks for the comment! While I love the Behmor, the ‘afterburner’ leaves something to be desired. Lol. I wouldn’t put away that fan anytime soon.
Glad to hear the Whirly Pop worked out for you too. One of the simplest, low-cost coffee roaster, that also boasts an impressive batch size. You can learn so much on those machines too since you have such great visual access to the coffee.
Happy roasting!
Dan
I roast mainly for myself, and alternate between 1/3 pound batches in my customized air popper and 2/3 pound batches in my Victorio stovetop roaster. I do 1 pound batches around Christmas time when I am roasting a lot to give away. All the roasting is in the backyard where smoke and fumes are not an issue and the chaff can float off to wherever it wants to go(my dog likes to chase it).
My setup with the stovetop roaster has evolved as follows:
When I started with it, I was using the side burner on a propane grill that has long since gone by the wayside, and eventually got a single burner propane stove dedicated to it (a 20 pound tank of propane lasts me all year).
I found it much easier to avoid scorching when I started keeping a 10″ cast iron skillet on the burner, underneath the popper.
I have a thermocouple wire attached to the shaft of the cranking mechanism and a digital thermometer attached to the wooden handle, to keep an eye on the temperature near the bottom of the roaster.
I made a 3/4 inch hole in the top lid that I can put the business end of a heat gun through when I want to speed up the heating process. I also keep an electric air pump (the kind made for inflatables) and use it at times to slow down a roast or blow out chaff.
I made an 18″ square wooden frame covered with 3/16″ hardware cloth to dump the hot beans into. It sits on top of 20″ box fan that is blowing straight up. They only take a minute or so to cool down.
My roasts are pretty much in the 9-12 minute range (same with my air popper). I am almost always going for city to city+ roast level. Once I hit first crack I am listening and keeping an eye on time and temperature but most importantly flipping the lid open and watching the color.
Oh I forgot to mention I also put better sweepers on the stirring wire, as I remember Tom wrote one time might be worth trying.
I used aluminum flashing, which you can cut with scissors (just be careful not to cut yourself with the edge of that thin aluminum sheet). I cut out two pieces about 1 1/2″ by 2 1/4″ and folded them in half around the ends of the stirring wire, then crimped them in place with pliers so it looks like there are two miniature bulldozer blades running along the bottom of the kettle. There are bends near the ends of the stirring wire that conveniently keep the sheet metal from just spinning around on the wire. It seems to keep a lot more bean movement going.
Agree, it moves the beans!
Before installing it, I burned off the finish on the flashing and washed off the remaining powder.
That would prolly make coffee taste like flashing, lol.